


Want to become great at nail care and manicures? Knowing how to use a cuticle pusher tool the right way is key to keeping your nails neat and healthy. In this guide, Nghia Nippers shares clear steps and expert tips on using a nail pusher properly. Learn important advice and add this tool to your nail care routine for the best results.
Advantages of Using a Nail Pusher
Below is a list of the benefits of enhancing your nails with a nail pusher as best practice.
-
Helps maintain the cuticles: Regularly managing cuticles prevents them from growing too much. Furthermore, it helps prevent any medical concerns that may stem from an infected cuticle.
-
Enhances Russian Manicures: Well-maintained cuticles ensure surface smoothness of the nail to facilitate the application of polish. This significantly enhances the professionalism of the traditional Russian manicure.
-
Aids in stopping nails from growing into skin: Gently pushing back cuticles minimizes the risk of nails growing inward to the skin surrounding the nail.
-
User-friendly price: Managing your cuticles using a cuticle pusher tool goes a long way in financially reducing costly trips to salons.
=> See more: Advantages of Using a Cuticle Pusher Tool
Benefits of enhancing your nails with a cuticle pusher as best practice
Types Of Cuticle Pusher Tools
In the second half of this writing, you will find the different types of cuticle pusher tools that may suit your needs best.
Metal Cuticle Pusher Tools
For training, metal cuticle pushers prove the most useful right after their professional counterparts. This is because they are precise, which is needed in training. Usually made from stainless steel or other rust-resistant metals, metal pushers come in several styles.
Pointed cuticle pushers avert excess skin from growing around the top of the nail. This makes the nail easy to clean. Curved pushers help move cuticles away softly. Knurled grip pushers come with a better and comfortable handle.
Flat-end pushers have a flat and straight edge, perfect for softly pushing cuticles back. Angled pushers come with an angled tip designed for versatile cuticle care. Two-in-one pushers combine a flat end and a curved end for complete cuticle maintenance. Curette pushers have a small scoop-shaped end to clean under nails or handle ingrown nails, often being double-sided and sometimes including a file.
Metal cuticle pushers prove the most useful right
Wooden Nail Pushers
Unlike its counterparts, bamboo and softwood make nail pushers eco-friendly and wooden in nature. These hoes have flat ends, making them basic pushers, simple, cheap, and great for simple cuticle pushing. For sensitive or delicate cuticle areas, curved wooden pushers with gentle curvatures are ideal.
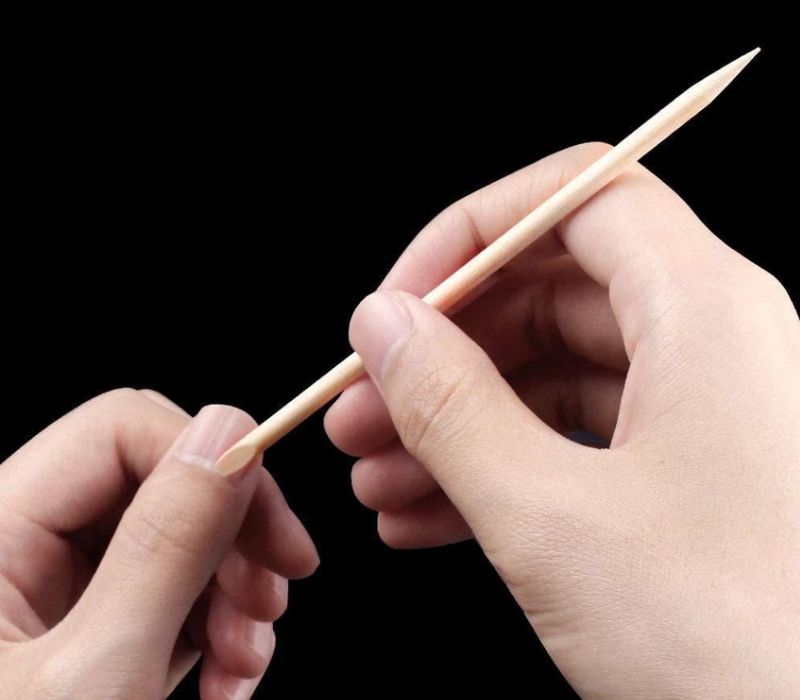
Bamboo and softwood make cuticle pushers eco-friendly and wooden in nature
How to Use a Nail Pusher Tool
Incorporating a nail pusher tool into cuticle care, if a person is looking for injury-free, neat, healthy nails, is a great recommendation. This not only encourages proper nail growth but also creates a clean nail bed and lowers infection chances or the development of hangnails.
With the added benefit of making polish application much smoother, greatness makes for saving money and time. With minimal effort, nails will turn out to be stronger and healthier, thus making the nail pusher an essential tool for people who value well-groomed nails. Some of the instructions that need to be followed carefully are so as to use the pusher effectively and efficiently.
Clean Your Hands and Nail Pusher Tools
Before starting, wash your hands thoroughly with soap and water to remove any dirt, oils, or bacteria. This keeps your nail care process clean and hygienic. Also, be sure to clean and sanitize your nail pusher tools before use to avoid any contamination. Starting with clean hands and a sterilized tool helps create a safe and effective nail care routine.
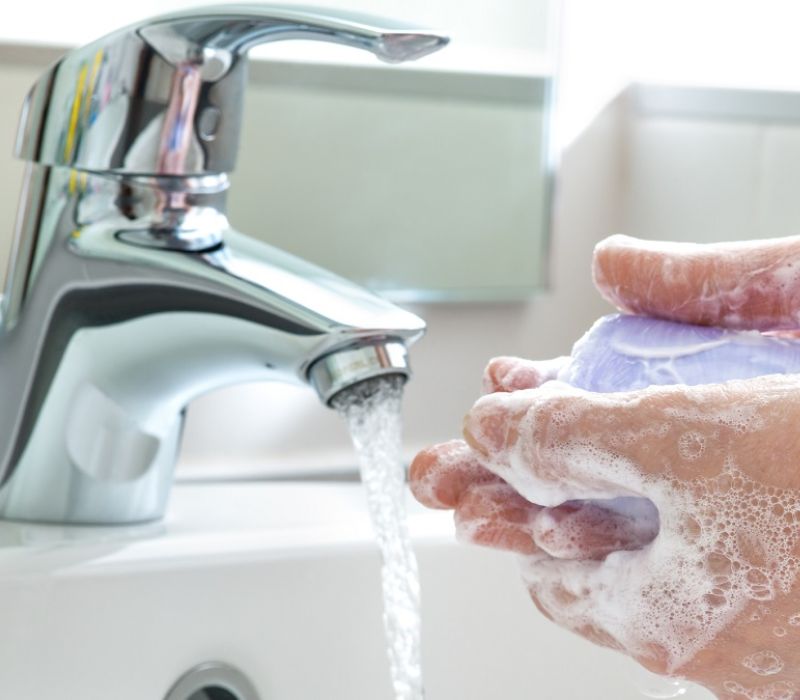
Wash your hands thoroughly with soap and water
Soften Your Cuticles
To make pushing back your cuticles easier and safer, it’s important to soften them first. You can do this by soaking your fingers in warm, soapy water for a few minutes. Alternatively, apply cuticle softener or cuticle oil to the nail beds, which will make the cuticles more flexible and easier to work with.
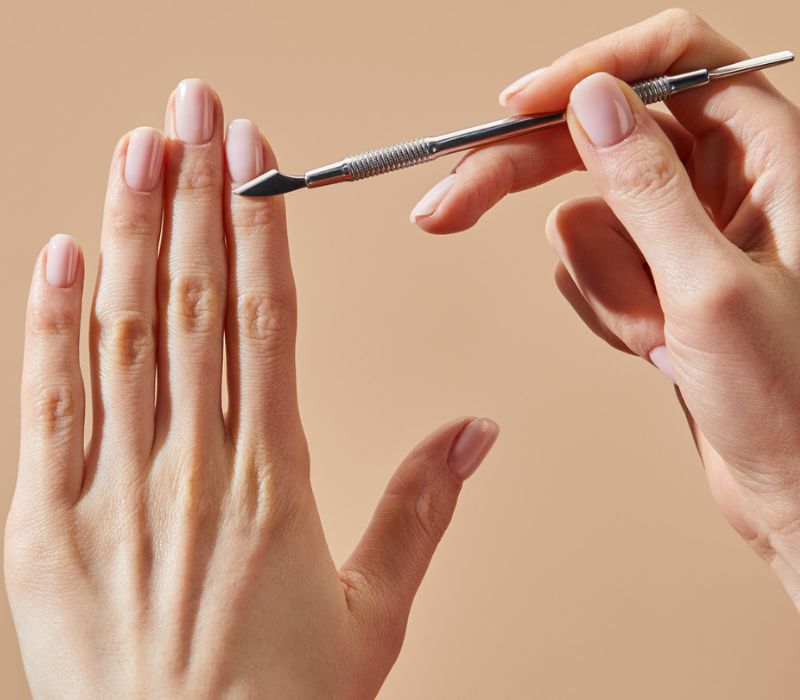
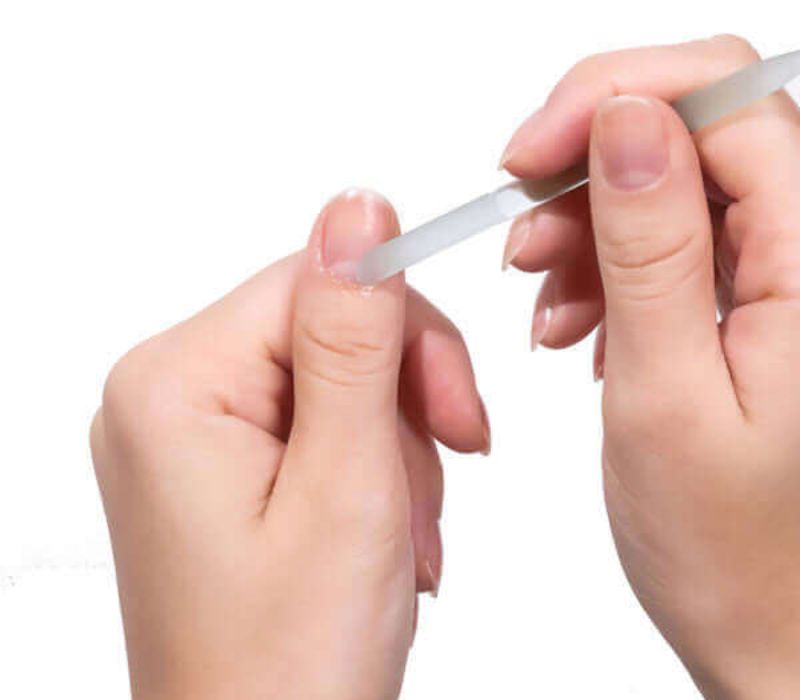
Push Back the Cuticles Gently
Hold the nail pusher with the rounded end facing downward. Using light pressure, gently push back the cuticles starting from the base of your nail and moving toward the tip. Take care to be gentle to avoid damaging the nail bed or causing discomfort. Focus on one nail at a time to keep good control throughout the process. Avoid pressing too hard, as this can cause soreness or injury.
Hold the nail pusher with the rounded end facing downward
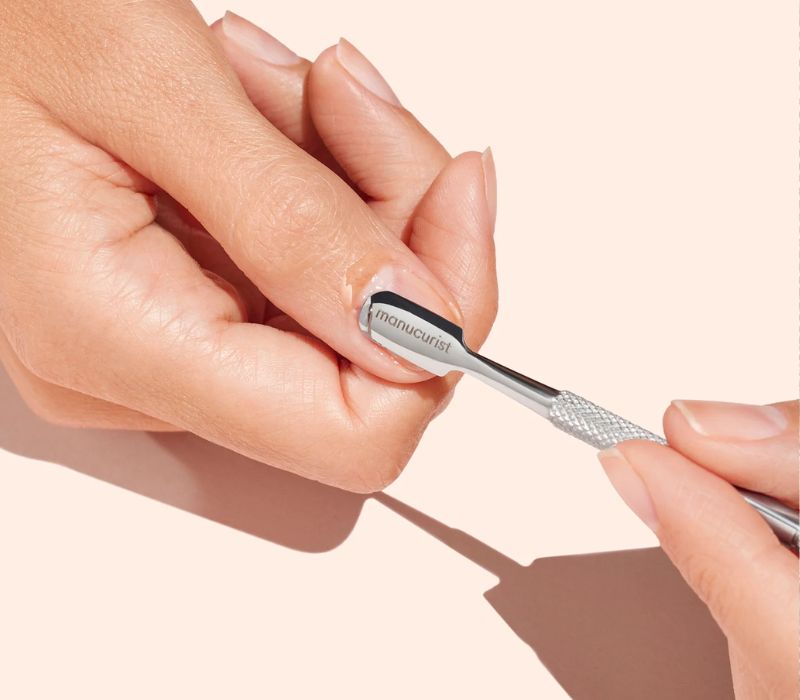
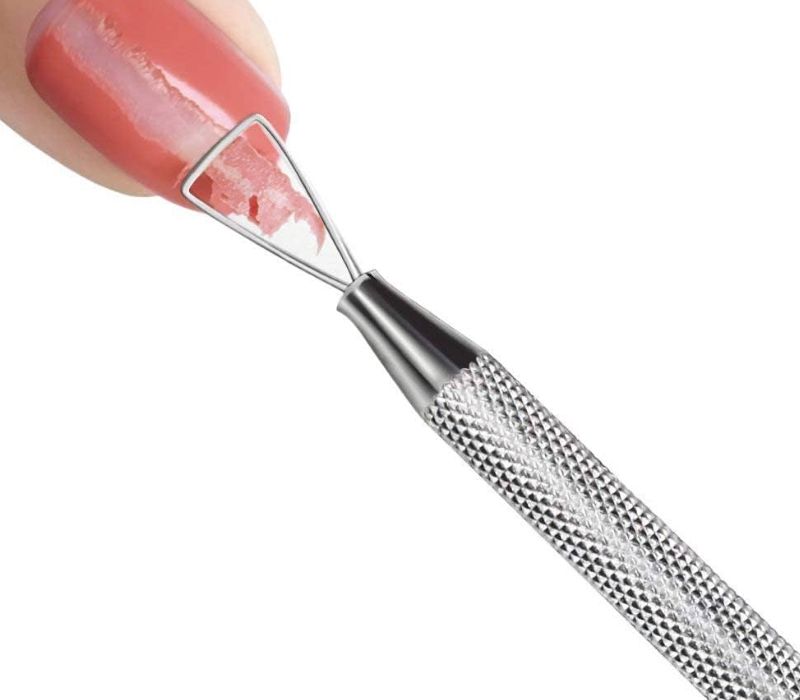
How to use a triangle cuticle pusher tool
Here are instructions on how to use the triangle cuticle pusher tooll, which operates somewhat differently than the round-ended one.
-
First, grip the triangle cuticle pusher with the flat side down. Make sure to have a firm yet relaxed grip, as this allows for precise movements and the control needed to push back the cuticles easily.
-
Then, use the flat side to gently push back softened cuticles at the base of each nail. Begin on one side and further rotate in a circular fashion to make sure each area is covered. Take your time and work on one nail at a time while being careful not to push too hard, as this can hurt the delicate nail bed.
-
The pointed end of the triangle cuticle pusher tool is useful for cleaning tight areas around the corners of the nails. Go ahead and use this tool gently with the aim of removing any stubborn cuticles or dirt in tight corners for a neatly finished look.
-
Throughout the entire process, one should take their time and be gentle with their movements. Avoid pushing too hard or too far, as this can lead to pain or injury. If resistance is felt, soaking the cuticles to soften them before continuing is the best course of action.
-
Using a triangle cuticle pusher offers more precision and is especially helpful for nails with detailed shapes. With practice and care, you’ll get the hang of it and keep your nails looking clean and well-groomed.
Instructions on how to use the triangle cuticle pusher tool
Important Tips for Using a Cuticle Pusher Tool
Here are important tips for using a cuticle pusher tool:
Select the Best Cuticle Pusher Tool for Your Needs
Selecting the proper cuticle pusher requires attention for safe and effective nail care. Consider the shape of your nails, the material of the instrument (stainless steel, plastic, or wood), the style of the tip (pointed or rounded), and the grip's comfort. A suitable tool aids in adhering to personal preferences regarding precision and gentleness while pushing back cuticles, resulting in healthier nails.
Selecting the proper cuticle pusher requires attention
Regular Cuticle Push Back
Incorporate pushing back the cuticles into routine nail care. This aids in combating cuticle growth over the nail surface, promoting healthy nail growth, and serving as a foundation for clean manicures, which minimizes the chances of hangnails and infections. Using the right tool and gentle force enables nails to look as polished as the preferred style.
Limit cutting cuticles to the bare minimum
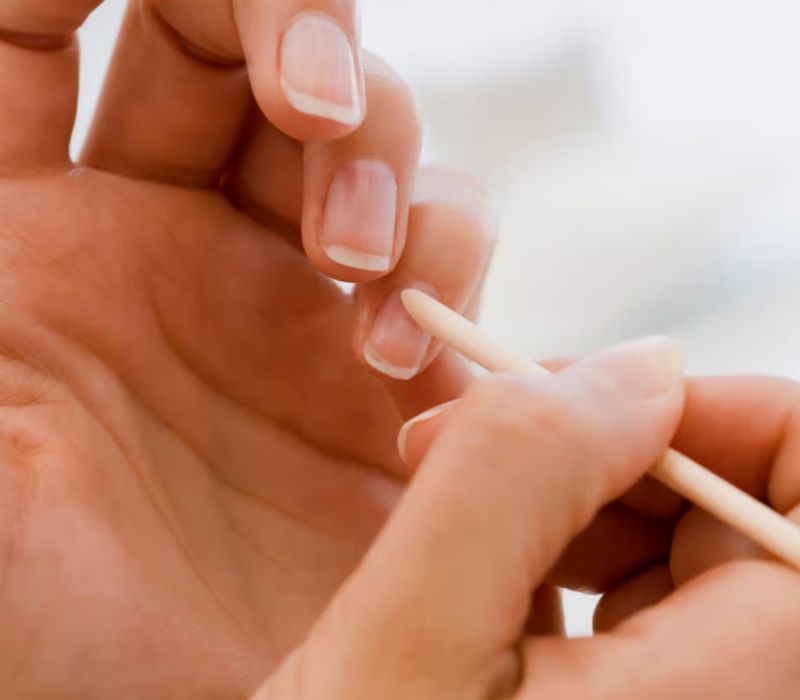
It's best to avoid the use of scissors around the cuticles. Pushing the cuticles back using a cuticle pusher tool or an orangewood stick is a preferable method. It is common for the nail to tremble upon application, which can result in unwanted injury to the sidewalls of the nail. This may result in a concoction of irritation, infection, and unbalanced growth. Allowing the cuticles to guard the nail with ease.

It's best to avoid the use of scissors around the cuticles
Refrain From Using Your Fingernails To Push Back Cuticles
To push back cuticles properly, it is advisable to refrain from using your fingernails since they can only damage, raise the chances of an infection, and promote dirt and bacteria accumulation, thereby hindering the process of growing nails and eventually weakening the cuticles. We advise using the right tools for safe and clean cuticle care. A proper cuticle pusher with a smooth tip will keep your nails healthy and your manicure up to a professional standard.
Always Avoid Biting Your Nails
Nail biting harms both your nails and your overall health. Biting your nails means putting dirt, bacteria, and a whole lot of buildup that comes from the mouth and not to mention sharp cuts that are prone to the edges of the nails through immense pressure exerted while taking care of the head area.
Cutting back on nail biting is easier said than done, as the result is weakening and damaging the appearance of the nails. Instead of biting your nails, you can throw into the mix stress-relieving exercises, such as deliberate breathing, fidget spinner-type devices, or wearing bitter-tasting nail polish that discourages biting. Frustrating is the effort to sustain the neatly arranged set of nails that will inhibit one’s propensity to bite their nails.
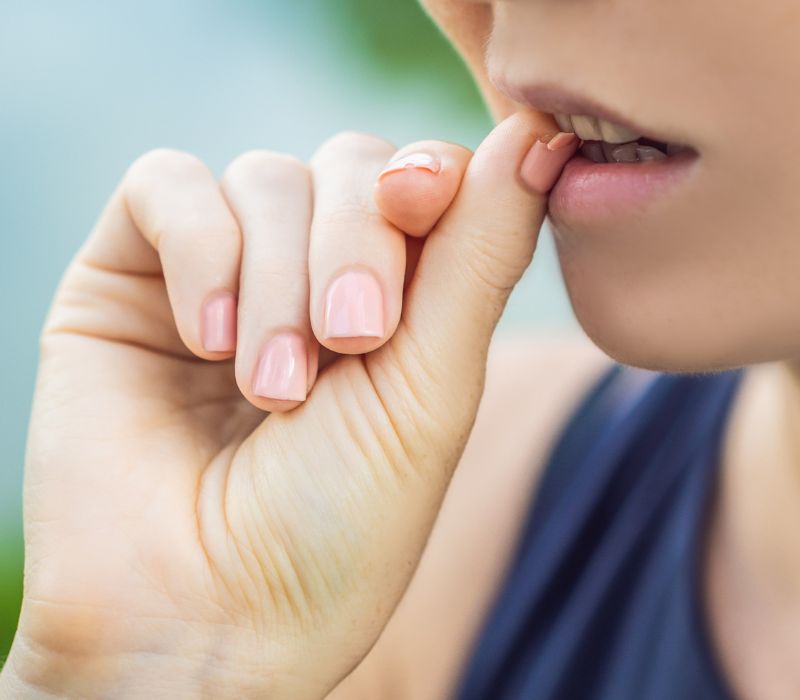
Nail biting harms both your nails and your overall health
Nghia Nippers has compiled these tips and encourages you to care for your nails as effortlessly as possible, using the cuticle pusher tool. No matter which tool you choose, take a little extra time to enjoy the benefits of meticulously cared-for nails. Experience the joy of perfect nail grooming with Nghia Nippers.
=> Read more:


