


Do you often skip using a nail buffer when doing a manicure at home? It’s easy to dive straight into painting your nails, especially in a hurry. However, taking a moment to buff your nails can dramatically improve their appearance and texture. At NGHIA NIPPERS, we’ve compiled a helpful guide on how to use a nail buffer block and why incorporating this step into your nail care routine is worth it.
What Is the Function of a Nail Buffer?
So, what exactly does buffing do for your nails?
Using a nail buffer block offers several advantages. It helps to:
-
Smooth out any uneven textures or raised areas on your nails.
-
Give your nails a silky, smooth texture
-
Enhance their natural shine, making them look healthy and glossy, almost like you’ve applied a clear coat of polish, especially when letting your nails breathe without any polish or extensions.
One thing to keep in mind: if you plan to paint your nails, avoid buffing them to a high shine because that can cause your polish to peel off more quickly. And if you’re using gel polish, it’s best not to buff at all, since the gel needs a slightly rough surface to properly adhere to your nails.
Function of a nail buffer
The technique of a nail buffer
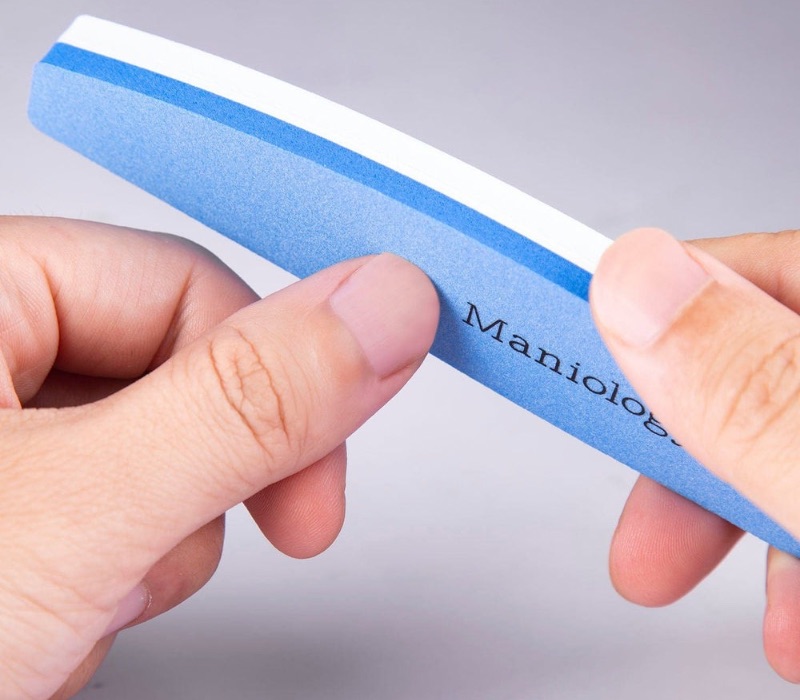
An emery board nail file is designed specifically for shaping the edges of your nails and should never be used to buff the nail surface itself.
For smoothing out ridges and uneven areas on the nail surface, a medium-grit buffer works well. This step can be done before applying nail polish or as preparation for finer buffing.
Next, a fine-grit buffer is used to smooth the nail further, creating a matte finish.
Finally, the finest grit provides a glossy shine to the nails, giving them a polished, healthy look.
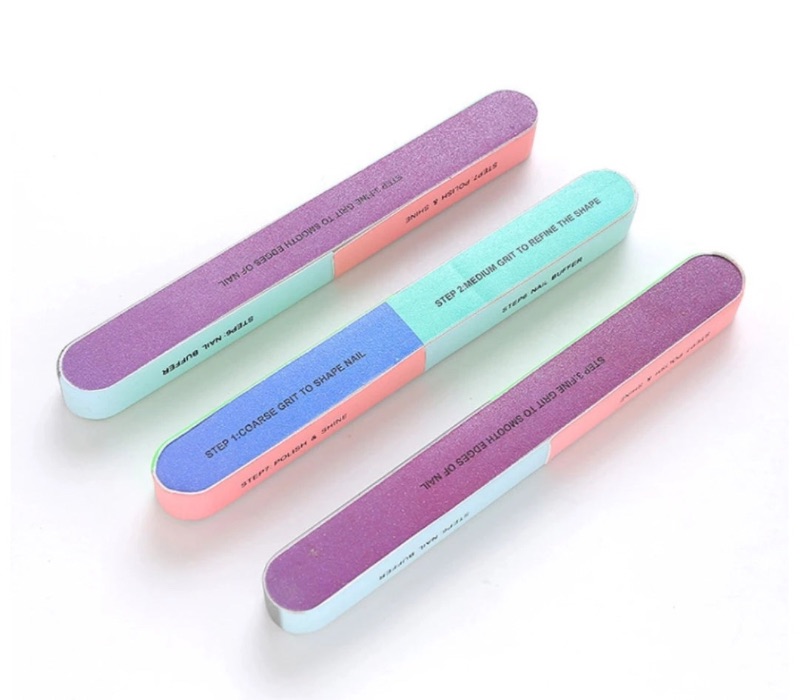
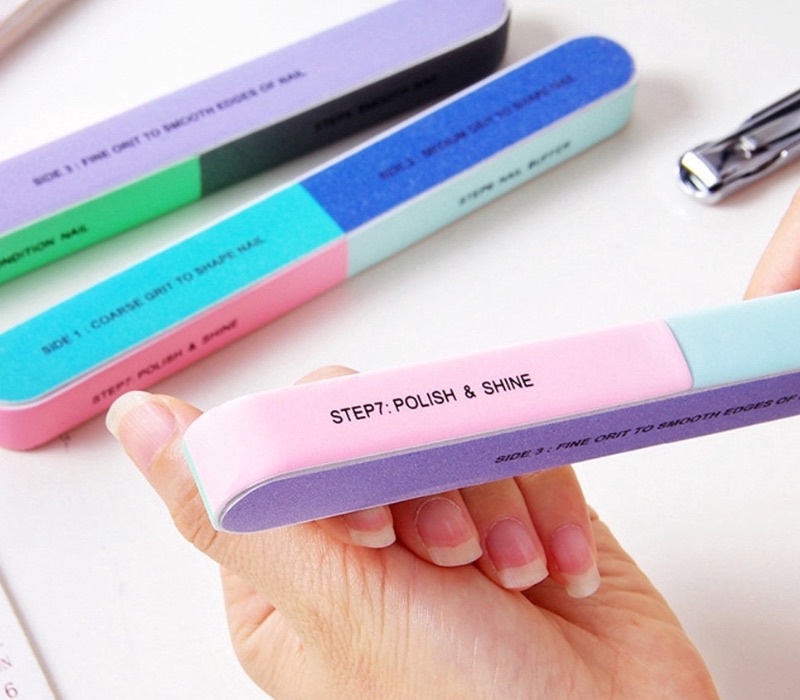
Traditionally, buffing involved using a cream and chamois skin, but today’s modern buffers resemble large rubber erasers with multiple sides, each offering a different level of coarseness for each buffing stage. Because buffing is a gentle form of surface abrasion, it’s important not to buff too aggressively or too frequently, as this can thin the nails over time. In manicure routines, buffing is often used as a natural alternative to chemical nail polish.
Technique of a nail buffer
Using a 4-Way Nail Buffer Block: Step-by-Step Guide
A nail buffer block isn’t just for buffing; it’s a versatile must-have in your beauty kit. Most nail buffers come with four different sides, each designed for a specific step: file, buff, polish, and shine. These sides are often numbered to guide you through the process, but if not, start with the roughest side and work your way to the smoothest. Here’s a step-by-step guide to using a nail buffer block for a flawless finish every time:
3.1. Shape Your Nails with a Nail File
If you haven’t shaped your nails yet, begin with the coarsest side of the buffer to file the edges and tops to your preferred length and shape. Keep in mind, never file your nails back and forth, always file in a single direction to protect them from damage and splitting. For a detailed technique, check out our guide on filing nails properly.

Shape nails with a nail file
3.2. Gently Buff the Nail Surface
Next is the buffing stage, which smooths out ridges and evens the nail surface. (Keep in mind that vertical ridges are common, but if they become pronounced, it could indicate vitamin deficiencies or other health concerns.) To buff correctly, hold the buffer flat and glide it over each nail in an X pattern. Steer clear of moving the buffer side to side, as this can create heat that dries out and harms your nails.
3.3. Polish for a Smooth Finish
After buffing, move on to the polishing side, which has a finer grit to smooth out any remaining unevenness. Repeat the X-shaped strokes about four to six times on each nail to create an even, polished surface.
Polish a smooth layer
3.4. Shine to Complete the Look
Finally, use the smoothest side of your buffer to add shine. Use soft, circular strokes on your nails to achieve a shiny, vibrant finish that looks healthy. Your nails will feel silky to the touch and look beautifully radiant.
To complete your nail care routine, apply a small amount of cuticle oil to nourish and hydrate both your nails and fingertips.
How Often Should You Buff Your Nails?
Aim to buff your nails no more than once a month. Overdoing it can lead to weakened, brittle nails. When buffing is done too frequently or with too much pressure, it can cause damage and make your nails more fragile.
Reserve buffing for a monthly self-care session, and be sure to follow the gentle steps we outlined earlier. The key is to be kind to your nails — avoid pressing too hard or creating heat from friction, and never apply too much force near your nail matrix.
How often should you buff your nails?
Or you can check out our tool usage guides for a flawless manicure:
- Fingernail trimming tools
- Precision nail nippers
- Cuticle trimming tool
- Cuticle pusher tool
- Nail care kit
Now that you know how to use nail buffer properly, you can keep them strong, healthy, and naturally glossy. If you’re ready to upgrade your nail care kit, check out our selection of nail files and buffers at NGHIA NIPPERS to keep your manicure essentials fully stocked.


